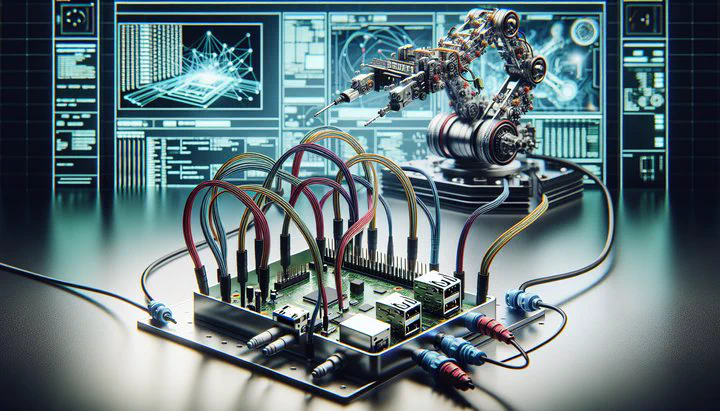
Setting Up Manual Control with Raspberry Pi

Introduction to Manual Control with Raspberry Pi
Have you ever wanted to control your homemade robot or smart home system with just a click? Welcome to the world of using Raspberry Pi for manual control in your projects! Whether you’re a hobbyist or an engineer, the Raspberry Pi is a powerful tool that can bring your ideas to life. Imagine being able to make adjustments to your projects on the fly, right from your fingertips.
One of the standout features of the Raspberry Pi is its ability to be mounted onboard various systems, offering flexibility and control like never before. With a manual control with Raspberry Pi setup, you can operate systems like robots, home automation devices, or even drones with ease and precision. This setup is not just cost-effective but also versatile, meeting the needs of various applications from DIY gadgets to professional engineering solutions.
Why is this setup beneficial? A manually controlled system gives you a hands-on approach to managing your projects, helping you understand every detail and make real-time decisions. Plus, having the Raspberry Pi mounted onboard reduces clutter and focuses your workspace on what truly matters—your creative vision.
In the following sections, we’ll explore how to set up your Raspberry Pi for manual control, delve into autonomous image processing, and design a user-friendly interface for seamless operation. Whether you’re new to using Raspberry Pi or looking to enhance your skills, this guide will provide you with the knowledge and tools you need to succeed. Let’s embark on this journey and discover how the manual control with Raspberry Pi setup can transform your projects!
Setting Up Your Raspberry Pi for Manual Control
Getting started with your manual control with Raspberry Pi setup is an exciting adventure. Here’s a simple guide to help you begin:
-
Gather Your Components:
- Raspberry Pi board (like Raspberry Pi 4)
- MicroSD card with Raspbian OS
- Power supply
- Keyboard, mouse, and monitor
- Optional: jumper wires, breadboard, sensors, or actuators
-
Assemble Your Setup:
- Connect your Raspberry Pi mounted onboard to a monitor using an HDMI cable.
- Attach the keyboard and mouse via USB, and insert the microSD card.
- Power up the Raspberry Pi; follow on-screen instructions to set preferences.
-
Install Software:
- Open the terminal and type
sudo apt update && sudo apt upgradeto update your system. - For manually controlled functionalities, install libraries like
RPi.GPIOfor motor control.
- Open the terminal and type
Troubleshooting Tips:
- If the Raspberry Pi doesn’t boot, check connections and the microSD card.
- For software issues, ensure everything is updated.
Visual aids like a diagram of the setup can be incredibly helpful. By the end of this section, you’ll have your Raspberry Pi mounted onboard and ready to explore. Next up, we’ll integrate autonomous image processing to enhance functionality!
Integrating Autonomous Image Processing
With your manual control with Raspberry Pi setup ready, you can now add autonomous image processing to make your projects even smarter.
Why Image Processing?
- It enables your Raspberry Pi to “see” and make decisions based on visuals.
- Projects become more interactive, like a robot avoiding obstacles or a smart camera recognizing faces.
Getting Started:
-
Install Software:
- Use OpenCV for image processing. Install it with
sudo apt install python3-opencvin the terminal.
- Use OpenCV for image processing. Install it with
-
Capture and Process Images:
- Connect a camera module or USB webcam to your Raspberry Pi mounted onboard.
- Use OpenCV for tasks such as detecting edges or recognizing patterns.
Example Project: Create a security camera that alerts you upon detecting movement. Start with simple tasks and gradually tackle more complex ones.
Resources:
- Tutorials and community forums can provide support and inspiration. As you get comfortable, your manual control with Raspberry Pi setup will showcase its full potential.
Designing a User-Friendly Interface
Creating a user-friendly interface makes your manual control with Raspberry Pi setup easy to use. Follow these tips:
Design Your Interface:
- Decide what controls you need: buttons for movement, sliders for speed, etc.
- Keep it simple and focused.
Software Options:
- Tkinter: Install via
sudo apt install python3-tkfor designing graphical user interfaces. - Web-based Platforms: Use Flask to create dashboard controls accessible from any device.
Tips for Success:
- Use clear labels and logical layouts.
- Test and refine for smooth operation.
A thoughtfully designed user-friendly interface can transform your project’s usability. Finally, let’s explore the exciting applications and future possibilities of your setup.
Applications and Future Possibilities
With your manual control with Raspberry Pi setup complete, explore the many applications and future possibilities.
Real-World Applications:
- Robotics: Control a robot manually while using autonomous image processing for navigation. Great for education and industry.
- Home Automation: Manage lights and security systems with a user-friendly interface, enhancing convenience and efficiency.
Future Potential:
- As tech evolves, your projects can integrate AI and machine learning for even more autonomy.
- Stay updated with new technologies and engage with community forums for ongoing inspiration and support.
The possibilities for a manually controlled Raspberry Pi are endless. Embrace technology, start your projects, and share your experiences with the community. Let your creativity lead the way!
Related
- How to Bind Fabric Pieces Together- A Comprehensive Guide
- Utilizing a 1 Ohm Resistor with Festo Multi-Pin Plugs for Enhanced Circuit Performance
- Effective Techniques to Maintain the Shape of Breast Cups
- Exploring Flexible Materials for Wing Props
- How to Find and Replace the Eccentric Bushing in a DJ-15 Delta Jointer